Newborn photography Editing Secrets| Progression of an image tutorial | Middletown, DE
I will sometimes post before and after images. However, with this image I decided to post a progression. Newborn Photography editing can be extremely time consuming sometimes. I alsways try to get it right in camera. However, sometimes that just doesn’t happen. Especially when my sweet little model is giving me an adorable smile. So below is the progression that I used in order to edit this image. I edit using Photoshop CS6. I have created my own actions along the way to make my editing time faster, however this particular image took me about 30 minutes to edit. I just couldn’t pass up Baby P’s sweet smile <3
Before I begin, here is my disclaimer. I am by no means a photoshop expert. I am pretty much self taught/youtube taught. So I am sure there are better/faster ways to do things.
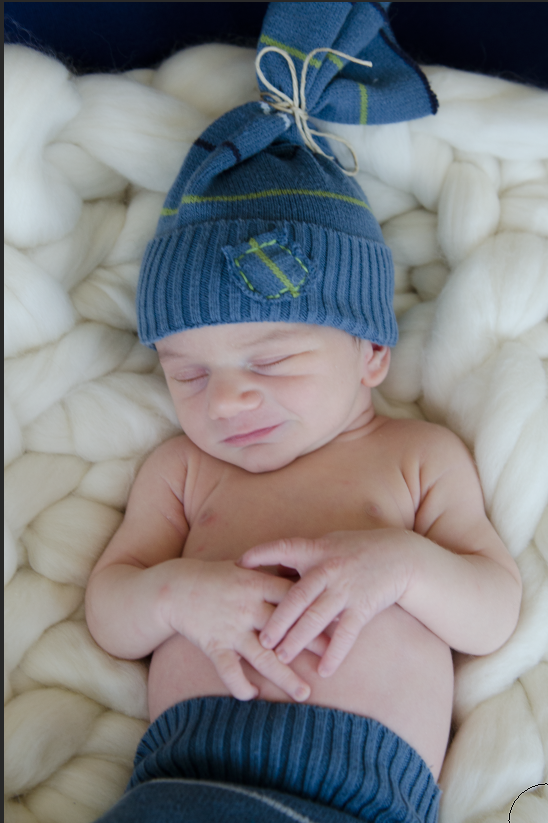
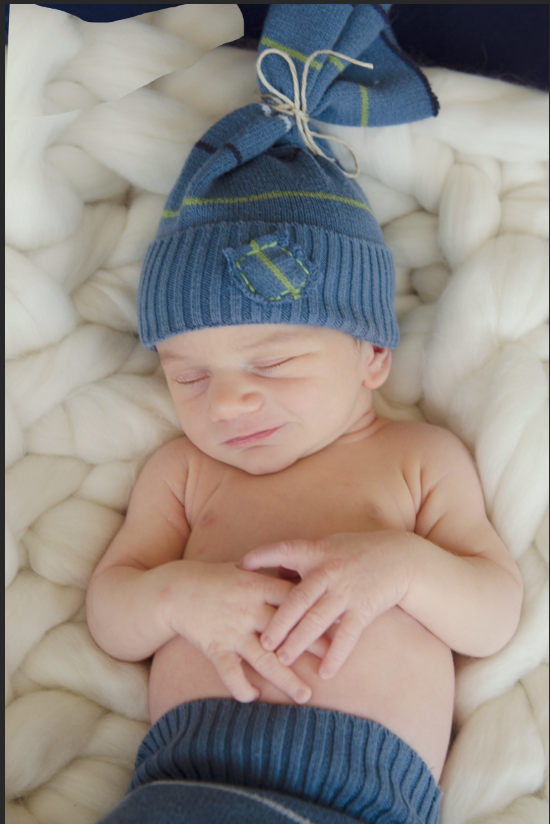
This is the initial image. Sometimes, baby smiles are fleeting, so when I saw Baby P smiling, I snapped rather quickly. However, the blue backdrop at the top of this image- really bothered me… so here is the progression I used to fix it. For me, there is an element of trial and error- so I included that as well.
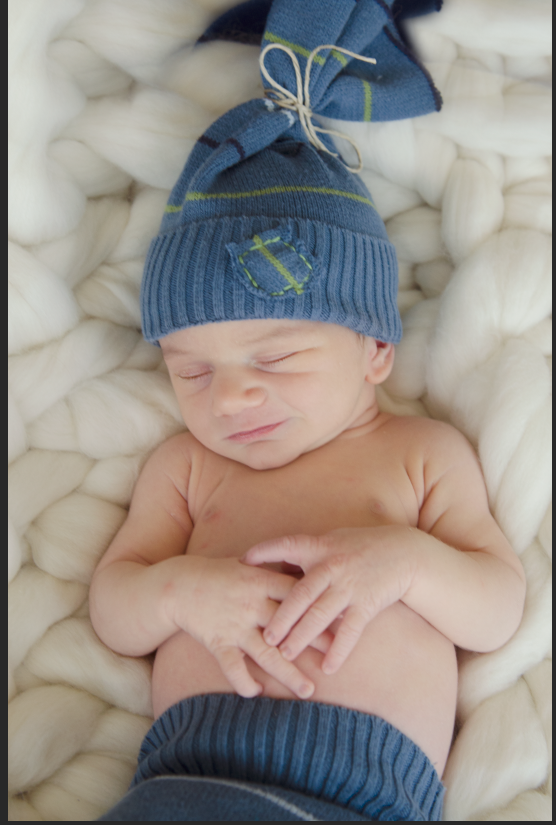
At first, I wasn’t quite sure how I was going to fix the top of this image. So I used my lasso to select an area of the blanket, then I copied and pasted it. That was a no- go though. In addition to the blanket, I warmed up the image and took some of the blue tones from my sweet baby’s skin.
The next thing I did was make a copy of the layer and move it up. I then made a layer mask and started brushing off everything except the areas I wanted to cover.
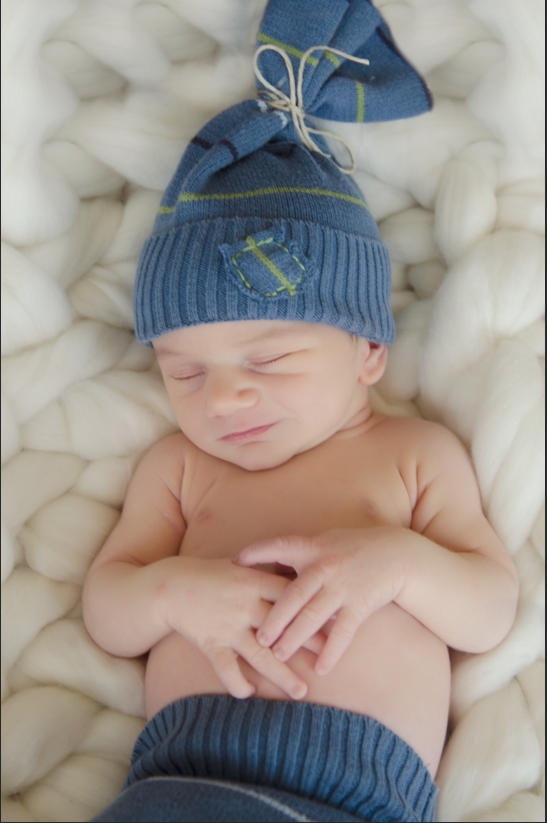
I repeated this process several more times until I was pleased with how the blanket looked. I also softened the baby’s skin. This process helps with any dry skin the baby may have.
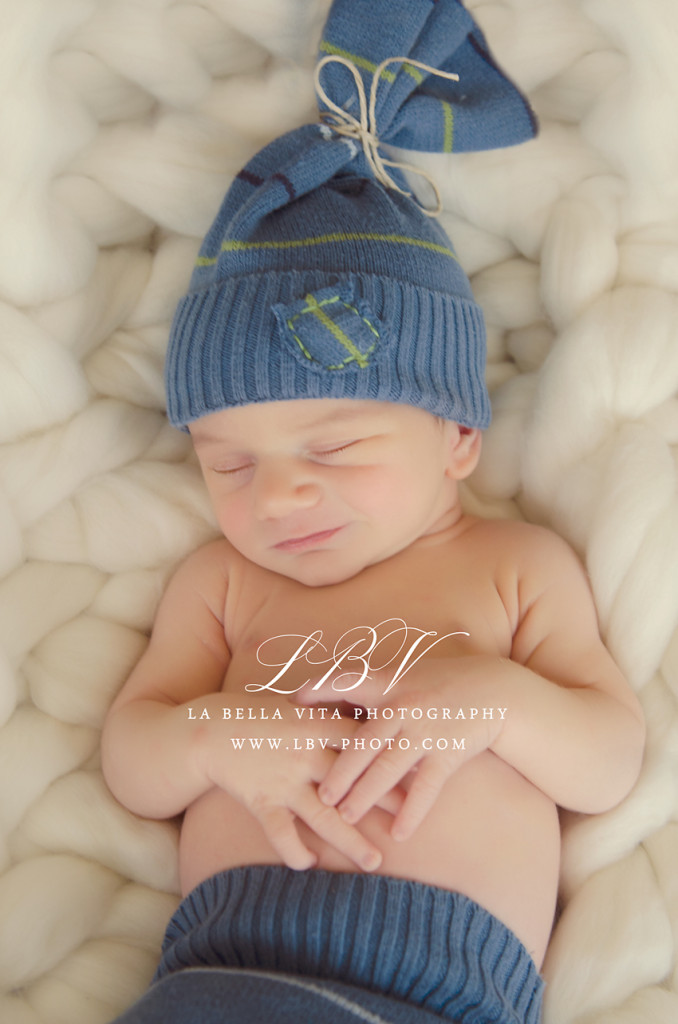
The last several steps of this image, I will condense into one. I decided to warm the image some more. I also added a matte layer, pink to the baby’s cheeks, sharpened the baby’s eyes. Then I changed the opacity of my paintbrush to 20% and sampled an area of the blanket. I painted the edges of the blanket with my soft brush set to 20%. This gives the blanket the blurred edge appearance. Below is the final edited image.
I hope this little tutorial was helpful <3 Please take minute to drop me a note below in the comments section and let me know where you are from! You can check more of my newborn work by clicking HERE. If you would like to schedule a newborn session with me- you can contact me using my quick contact form by clicking HERE.
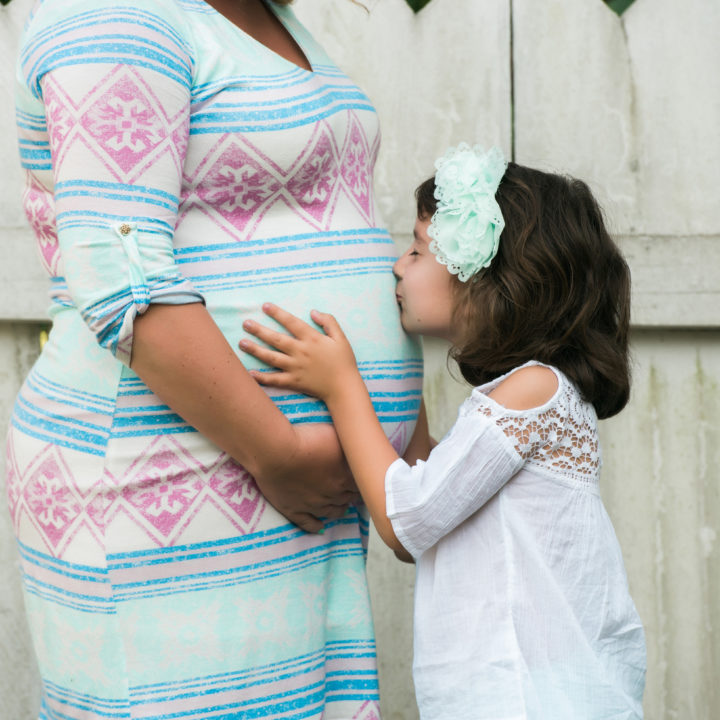
This Gorgeous bump blanket and outfit are by my good friend Eike at Leisl and me. Go give her facebook page some LOVE <3. You can find her by clicking HERE.