Back to School Mini Sessions Middletown, delaware….Creating a pinwheel Banner
Today my mom and I got all crafty and created a ton of pinwheels to create a garland for my back to school mini sessions. We will be holding those at the end of August 2013 for back to school. These pinwheels were so pretty and easy, I figured I would whip up a quick blog about how to create them! Special thanks to my awesome Momma for helping me make these gorgeous little pinwheels and being my hand model. Don’t forget to book your session well in advance to make sure you get a spot. These spots fill up quick.
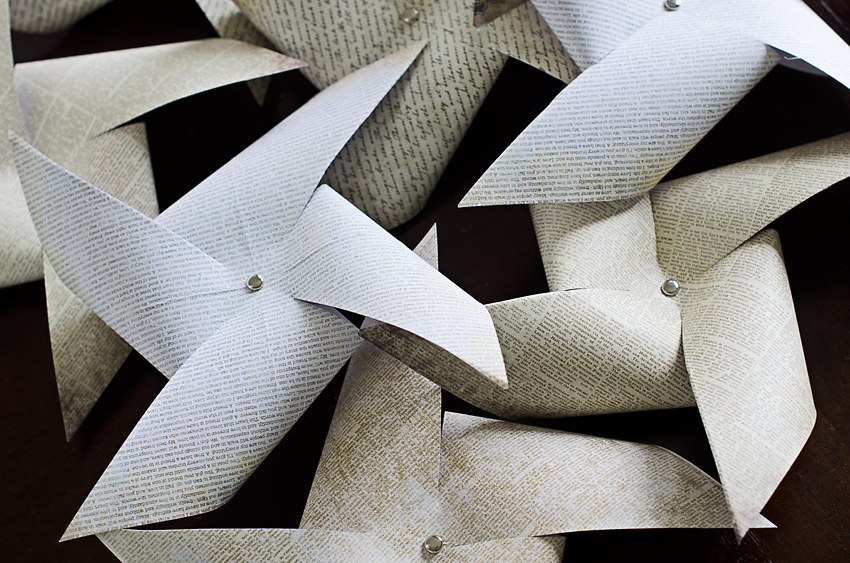
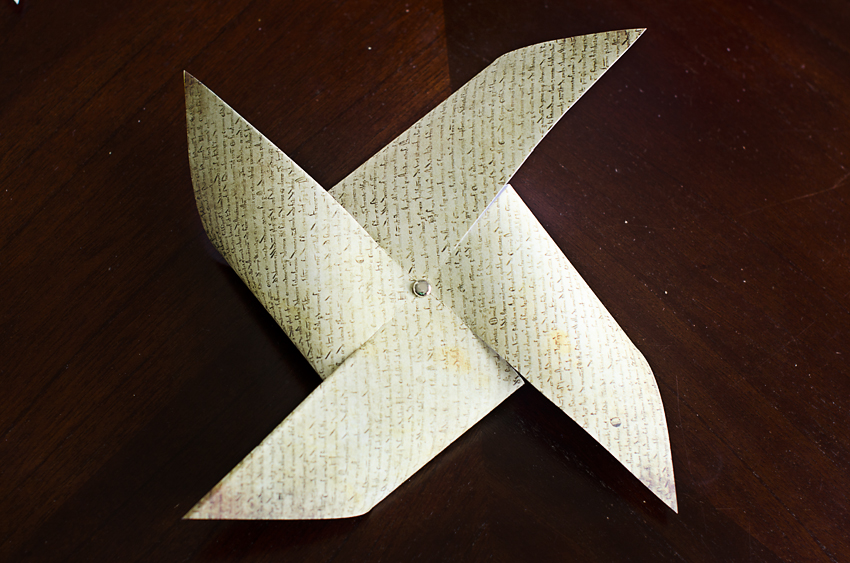
Here are what those gorgeous little pinwheels look like all completed!
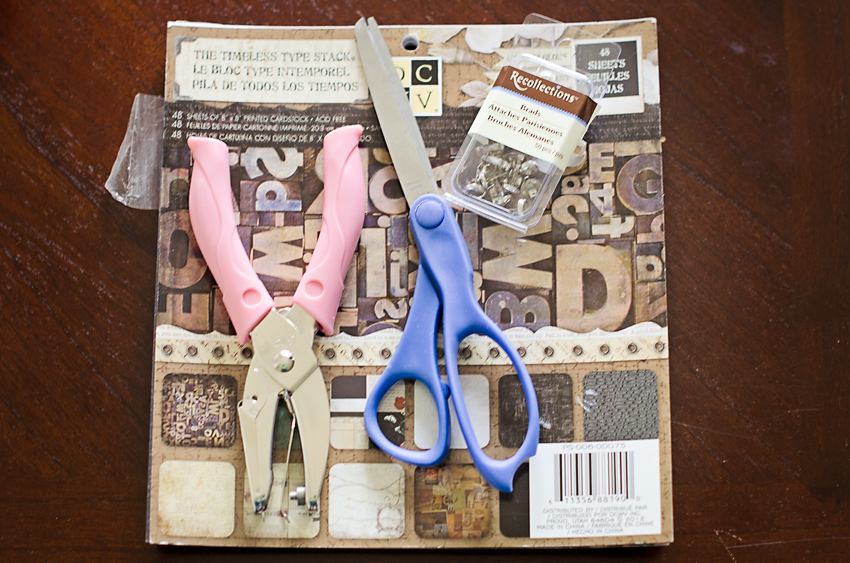
Here are the things you will need:
1. Scrapbooking paper
2. Scissors
3. hole puncher
4. Brads
5. A super crafty mom who is great at figuring things out (well ok- you can do it without the super crafty mom- but it sure makes it alot more fun!)
Step 1:
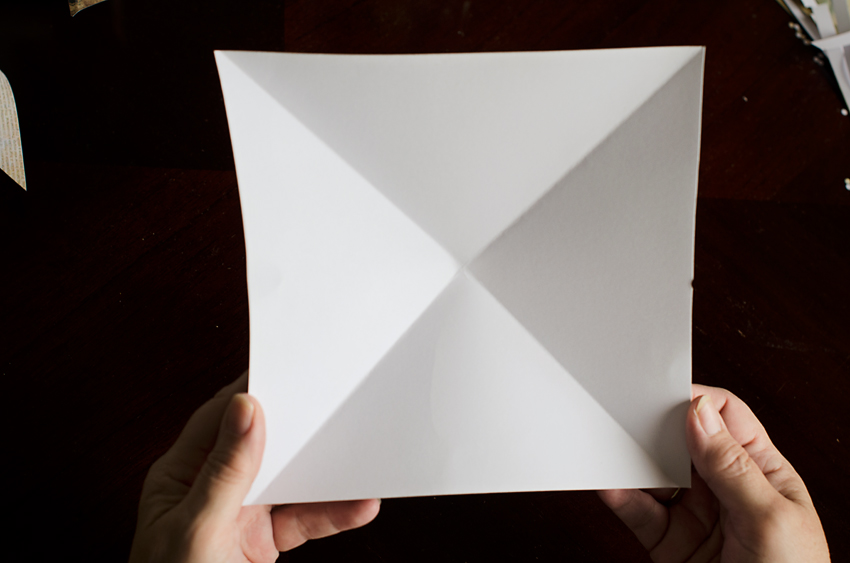
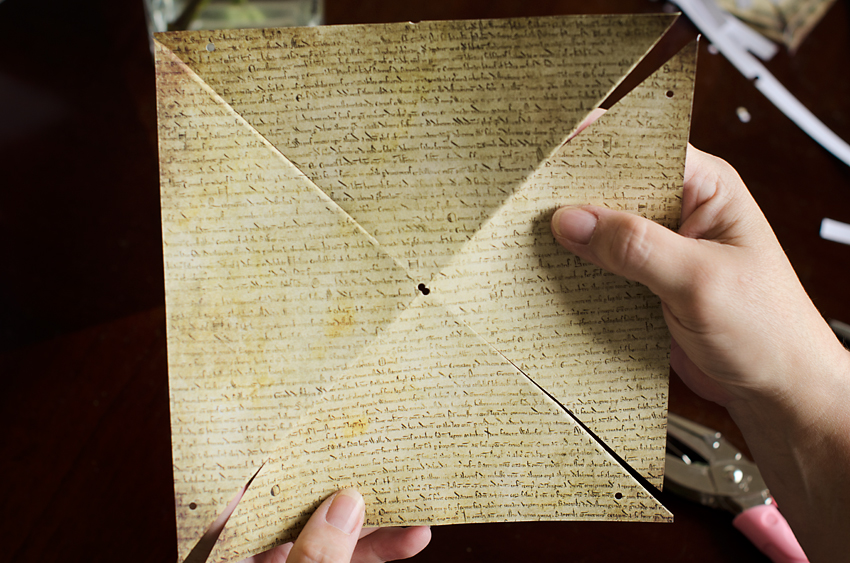
Make sure you have a perfect square to begin with. I bought scrapbook paper already cut into a perfect square. Streamlining is important with a 4 month infant. If you didn’t buy the paper already sized into a perfect square, then cut it. We folded our paper diagonally both ways. Like this:
Step 2:
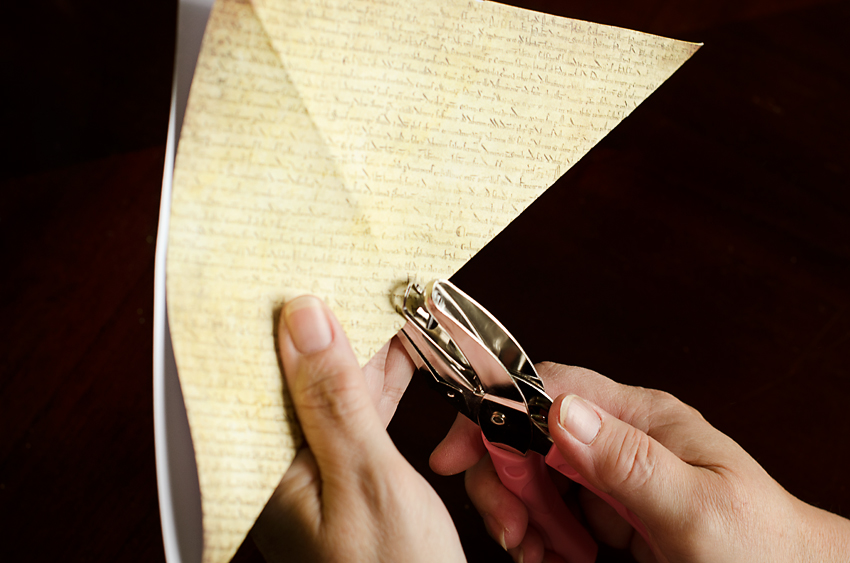
cut along your folded lines, leaving about a half an inch from the middle. This middle uncut area is where you will punch a hole and insert the brad. We folded the paper in half before we hole punched. This made it much easier to use the hole puncher.
Step 3:
After you hole punch the middle, hole punch one hole in each quarter.
Step 4
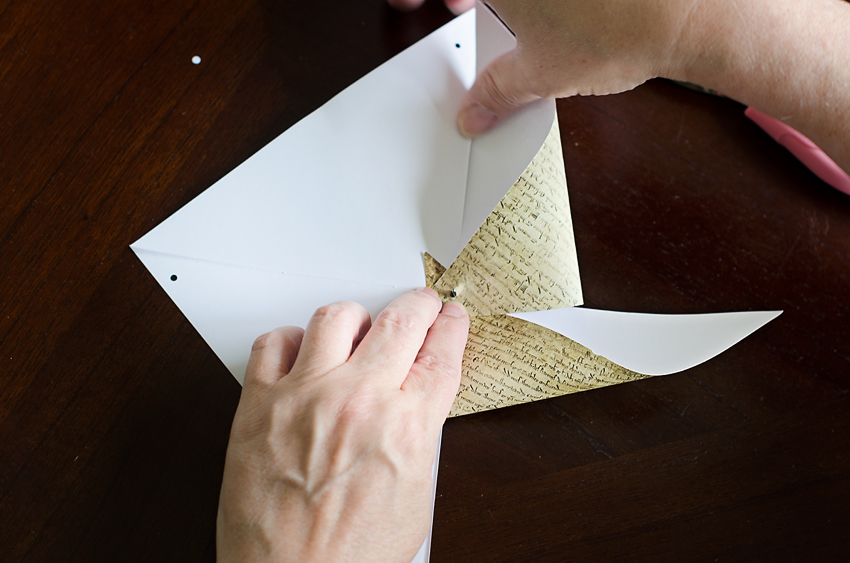
Next, you put the brad in the middle of the pinwheel, turn it upside down and one by one put each quarter on the brad.
Step 5
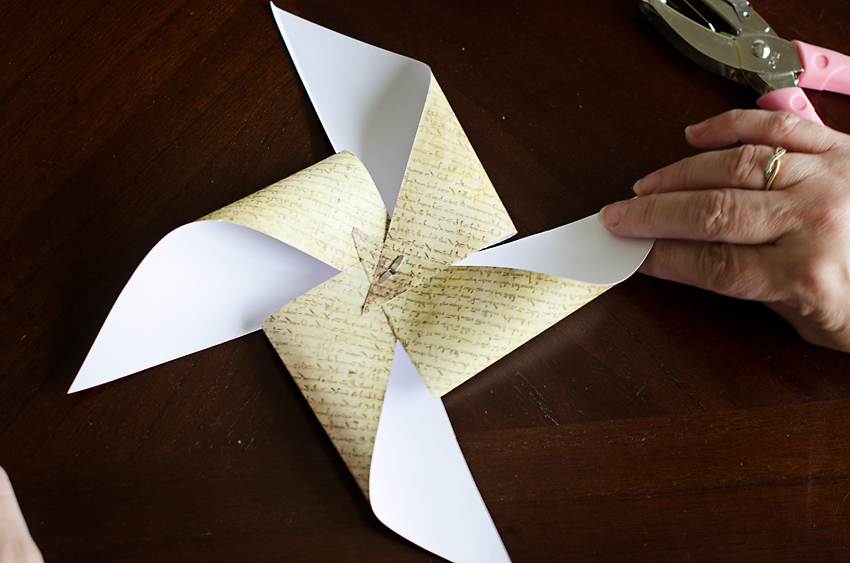
After you put all the quarters on the brad, pull the flaps down and … you are all finished!!!!
Here is your finished pinwheel! I plan on making a garland with my pinwheels, using twine and clothespins. How crafty and cute will that be?! Thanks for stopping by! <3
